Get an add-free downloadable PDF version of this pattern HERE - PDF includes large print and 10 pages packed with photos
Add this pattern to your Ravelry favorites/queue HERE
Pin it Here
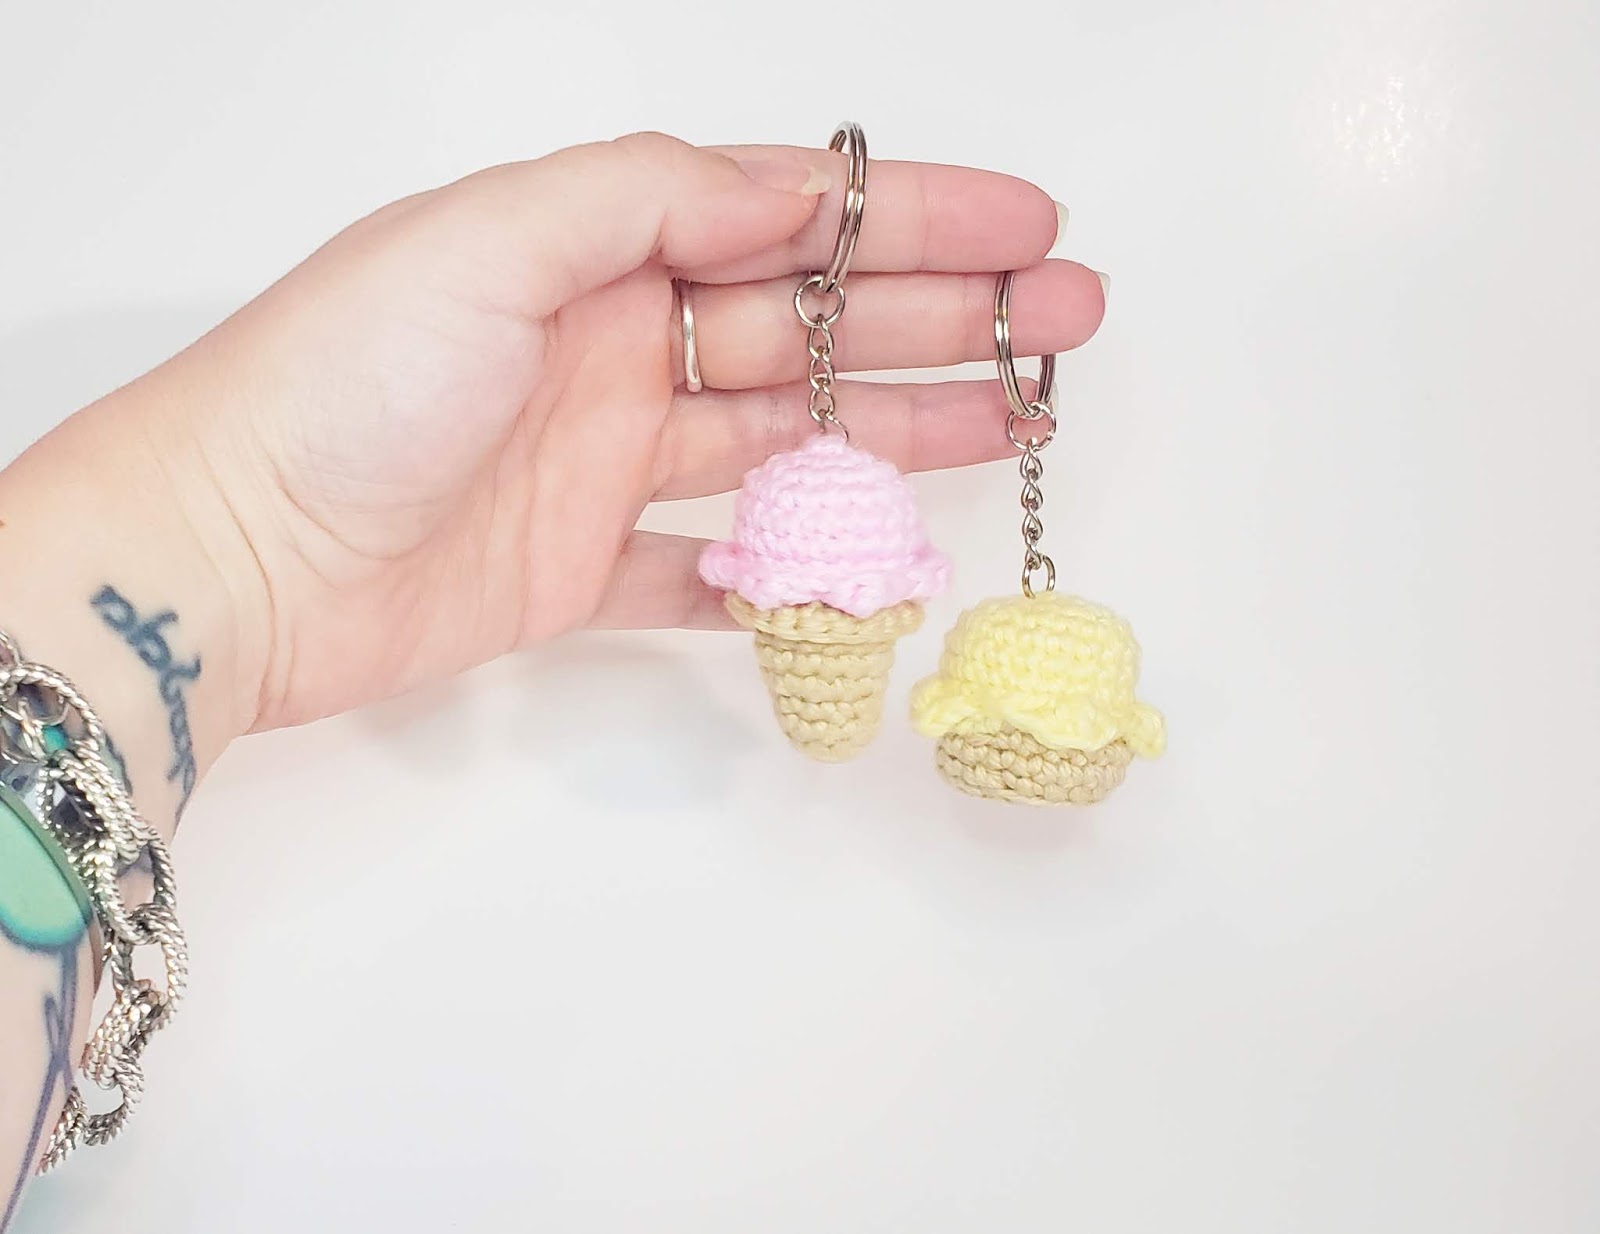
I've been away from this little blog of mine for most of the winter and all of spring, but I'm back, and hoping to redeem myself with a two for one pattern. I'll be teaching you how to make these adorable (sadly not edible) ice cream cone AND cupcake key chains. If you don't have key chain hardware laying around, don't fret, you can find it by following this link. or you can still follow the pattern along and make some adorable mini sweet treats.
Tip: If you are planning on doing any craft shows or fairs this Spring/Summer season, these are a great seller!
Please note that this blog and post contains affiliate links and any sales made through such links will reward me a small commission – at no extra cost for you. You can view the disclosure for more information by clicking this link.
Material List:
- Size B/2.25mm crochet hook << click this link to grab my favorite hook set
- Worsted Weight yarn in tan (cone/cup) pastel color of choice (ice cream/frosting)
- Key chain hardware
- Pliers
- Scissors
- Darning needle
- Stitch marker (I use a scrap piece of yarn)

Pattern Notes:
- Skill: Easy
- Crochet Terms: US Crochet Terminology
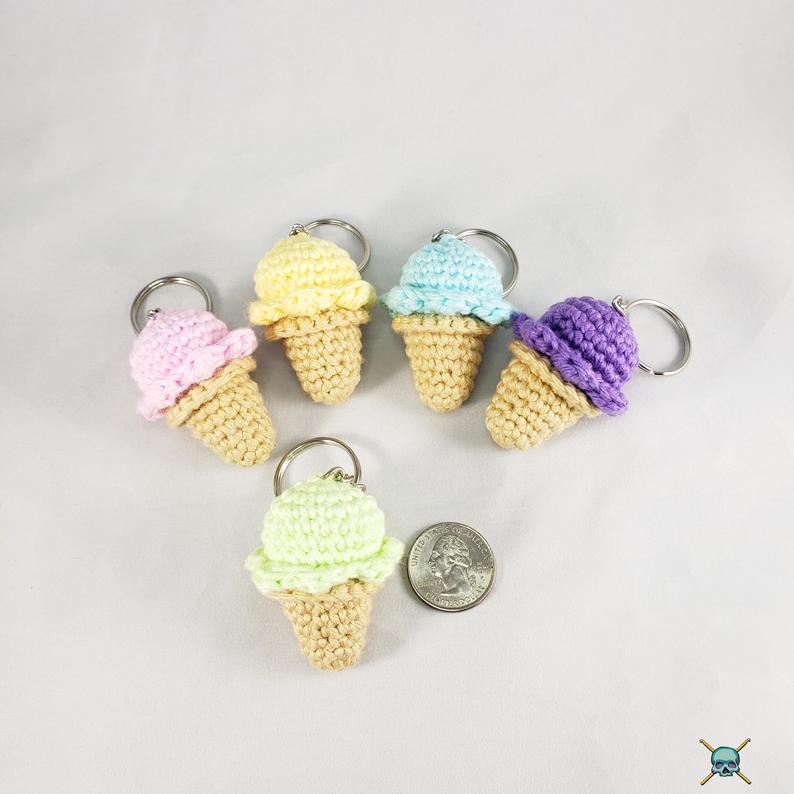
- Gauge: There is no gauge for this piece. With suggested materials finished size of the Ice Cream Cone is approx. 2 inches and the Cupcake approx. 1 inch.
- Pattern is worked in the round, use your stitch marker to identify the beginning of each new row
- Repeat stitch pattern between * *
- Stitches between { } are performed in the same stitch
- Stitch count for each row will appear between ( ) at the end of each row

Terms Used:
- MR: Magic Ring
- SC: Single Crochet
- DC: Double Crochet
- HDC: Half Double Crochet
- FLO: Front Loop Only
- BLO: Back Loop Only
- SL ST: Slip Stitch
- INC: Increase (two SC in same stitch)
- F/O: Fasten Off

Pattern:
| Cone: (with tan yarn) | ||
| R1 | 5sc in MR (5) | |
| R2 | 2sc in each (10) | |
| R3-R4 | 1sc in each (10) | |
| R5 | *1sc next st, inc.* (15) | |
| R6-R7 | 1sc in each (15) | |
| R8 | *1sc next 2 st, inc.* (20) | |
| R9 | FLO - 1sc in each around (20) | |
| F/O weave in tail | ||
 |
| Cone should look like this |
| Cake Bottom: (with tan yarn) | |
| R1 | 5sc in MR (5) |
| R2 | 2sc in each (10) |
| R3 | *1sc next st, inc.* (15) |
| R4 | BLO *1sc next 2 st, inc.* (20) |
| R5-R6 | 1sc in each around (20) |
| F/O leave long tail for sewing | |
 |
| Cupcake bottom |
| Ice Cream/Frosting: (with secondary color) | ||
| R1 | 5sc in MR (5) - Leave a 6 inch length of un-worked yarn, this will be used to attach the key ring. | |
| R2 | 2sc in each (10) | |
| R3 | *1sc next st, inc.* (15) | |
| R4 | *1sc next 2 st, inc.* (20) | |
| R5-R7 | 1sc in each around (20) | |
| R8 | Sl St *{HDC,DC,HDC}, Skip next st, sl st in next* 6 times, finish with {HDC,DC,HDC} in last st. Sl St into first st of R8 to join | |
| F/O leave long tail for sewing | ||

 Using your darning needle, loop the yarn back through the MR.
 Pull tight and securely weave in the end on the inside of the piece.
Attach the Ice Cream/Frosting to the cone or cupcake stuffing as you go. Sew the piece together by bringing your needle from the inside out and under the stitch and pulling tight (photos below).

Always come up from the inside of the stitch. This will give you a nice and clean, hidden seam.

Continue stuffing as you close the gap between the top and bottom pieces. Weave in your ends, and enjoy!

Please do not copy or redistribute this pattern as your own. If you create a piece of your own, I'd love to see a photo! You can find me via the social media links below.
Pattern by Meriah Martin @ Not Your Yiyas Crochet
Follow me on Facebook
Follow me on Instagram
Comments
Post a Comment